Mini Split Installation in Lewis Center, OH
Mini-split installation Lewis Center, OH: learn the full process, common issues, and maintenance tips. Schedule your installation today for optimal comfort.
Mini Split Installation in Lewis Center, OH
Installing a ductless mini-split is a practical way to add efficient heating and cooling to individual rooms, additions, or homes without extending ductwork. In Lewis Center, OH, where summers can be humid and warm and winters can dip well below freezing, a properly installed mini-split delivers reliable comfort and lower operating costs.
Why a mini-split makes sense for Lewis Center homes
- Zoned comfort: control temperature room-by-room for bedrooms, finished basements, sunrooms, or home offices common in the Lewis Center area.
- Efficient heating in shoulder seasons: ductless heat pump capability keeps homes comfortable when central systems would run inefficiently.
- Minimal disruption: installs with a small wall penetration and a compact outdoor condenser, ideal for older neighborhoods and newer subdivisions around Lewis Center.
- Improved indoor air quality: multi-stage filtration and no ductwork to circulate dust and allergens.
Common mini-split installation types and typical use cases
- Single-head systems: one indoor unit paired with one outdoor compressor for a single room or addition.
- Multi-zone systems: multiple indoor heads tied to one outdoor unit for whole-house zoning without ducts.
- Heat pump mini-splits: provide both cooling and reliable supplemental heating during milder portions of Ohio winters.
- Retrofit installs: replacing window units or extending comfort to rooms where ductwork is impractical.
Site assessment and sizing: Manual J and load calculations
A successful mini-split installation begins with a thorough site assessment and a Manual J or equivalent load calculation. That calculation accounts for:
- Square footage, ceiling height, and insulation levels common to Lewis Center homes.
- Window orientation and solar gain for rooms facing south and west.
- Air infiltration, attic and wall insulation R-values, and local design temperatures.Correct sizing prevents short-cycling, inadequate capacity in heat or cooling, and reduces long-term operating costs. Oversized or undersized systems are the most common cause of performance complaints.
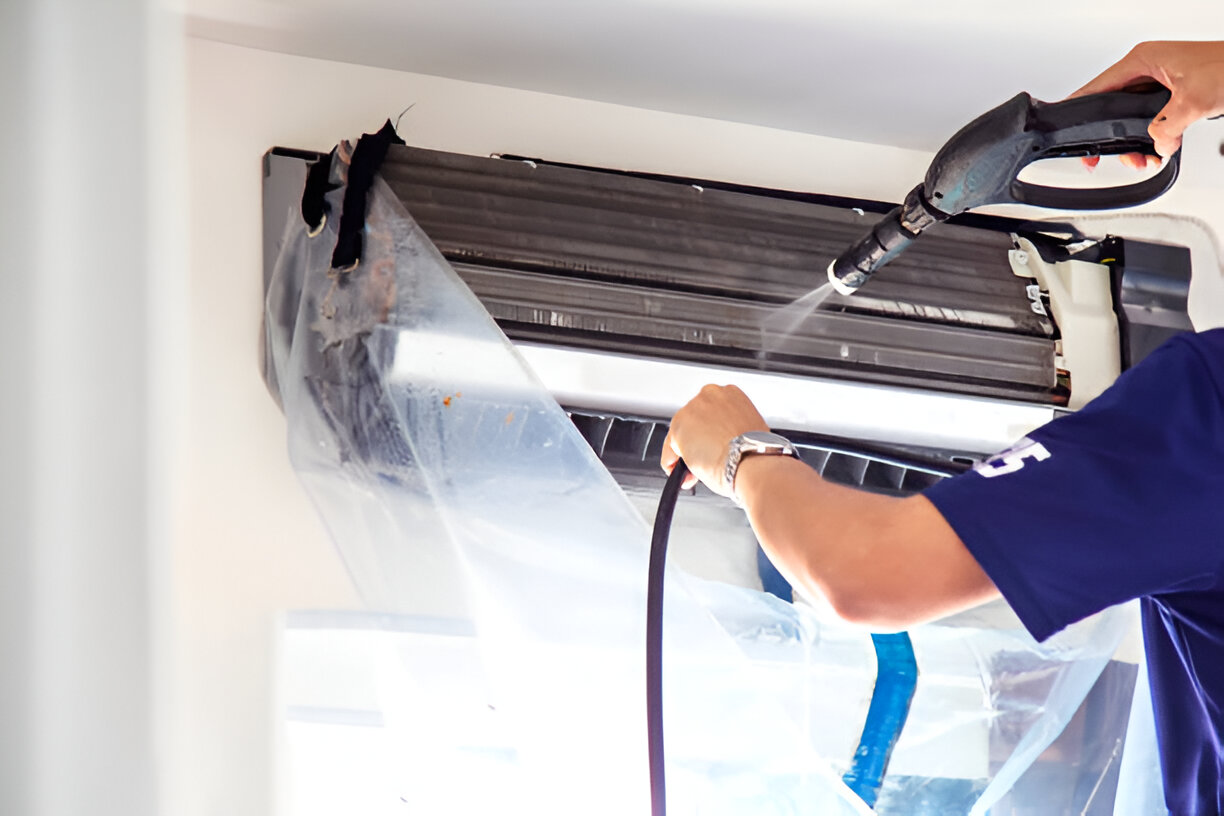
Indoor and outdoor unit placement
Proper placement affects comfort, efficiency, and aesthetics.
- Indoor units: mounted high on a wall in a central location for the zone, avoiding direct sunlight, blocked airflow, or places where noise or drafts would be an issue.
- Outdoor unit: located on a level pad with clearance for airflow, away from heavy road salt or splash zones, and positioned to minimize noise for neighbors—important in Lewis Center’s tighter residential lots.Technicians will consider refrigerant line length limits, wiring access, and the easiest route for the line-set when choosing locations.
Line-set, electrical work, and condensate drainage
- Line-set routing: copper refrigerant lines, insulation, and electrical conduit are run through a small hole in the wall, sealed to prevent air and moisture intrusion. Proper vacuuming and leak testing are performed before charging.
- Electrical: installations require a dedicated circuit and correctly sized disconnect, per local electrical code. For heat pump models, a 240V or 208V circuit may be necessary depending on the unit.
- Condensate: indoor units produce condensate during cooling. Options include gravity drains, condensate pumps when gravity is not possible, and secondary safety drains to prevent water damage in multi-level homes.
Commissioning and refrigerant charging
Correct commissioning is essential. This step includes:
- Evacuating and leak-checking the refrigerant lines to manufacturer specifications.
- Charging the system with the manufacturer-specified refrigerant and verifying superheat and subcooling if required.
- Setting control parameters and testing auxiliary heat on heat pump models.A properly commissioned system delivers expected efficiency and prevents premature component wear.
System testing and homeowner orientation
After mechanical work is complete, technicians will:
- Test unit operation in heating and cooling modes across a range of setpoints.
- Verify airflow, temperature split, and electrical parameters.
- Demonstrate controls and modes to the homeowner, including scheduling, fan settings, defrost mode for heat pumps, and filter removal for cleaning.This orientation ensures homeowners understand how to get the best performance and efficiency from their mini-split.
Permit and code compliance
Permits and inspections are standard. Installations in Lewis Center must comply with:
- Local building and electrical codes enforced by Delaware County or the Village of Powell if applicable.
- Manufacturer installation requirements to preserve warranty coverage.
- Ohio energy and mechanical code provisions for equipment and refrigerant handling.Permits protect homeowners by ensuring work meets safety and performance standards.
Timeline and pricing expectations
- Typical timeline: a straightforward single-head installation can often be completed in one day, while multi-zone systems usually take one to three days depending on complexity and wall finishes.
- Pricing variables: system capacity, number of indoor heads, line lengths, electrical upgrades, need for condensate pumps, and permit/inspection fees all affect cost. Labor for careful line-set routing and tight interior finishes can increase installation time.Expect a clear breakdown of materials and labor when comparing quotes so you can evaluate long-term value in performance and efficiency rather than initial cost alone.
Common issues new owners should watch for
- Reduced cooling or heating output from incorrect sizing or poor refrigerant charge.
- Noisy indoor operation due to poor mounting or airflow obstructions.
- Condensate leaks from clogged lines or missing safety traps.
- Frequent short-cycling caused by oversized equipment or improper controls.Promptly addressing these during the warranty period prevents long-term problems.
Recommended maintenance after installation
- Clean or replace filters every 1 to 3 months depending on use and indoor air quality.
- Keep the outdoor unit clear of leaves, snow, and debris; maintain at least 12 to 24 inches of clearance.
- Annual tune-up: electrical check, refrigerant level verification, condensate drain cleaning, and inspection of mounts and line insulation.
- Check remote controls and scheduling seasonally to ensure efficient operation through hot summers and cold Ohio winters.Regular maintenance preserves efficiency, prolongs component life, and helps maintain warranty compliance.
Hot Deals & Cool Savings

.webp)
New Service Agreement Membership
.webp)
Any New Client Service
Next Service for Referring a New Client
New Service Agreement Membership
Any New Client Service
Next Service for Referring a New Client
.webp)
.webp)
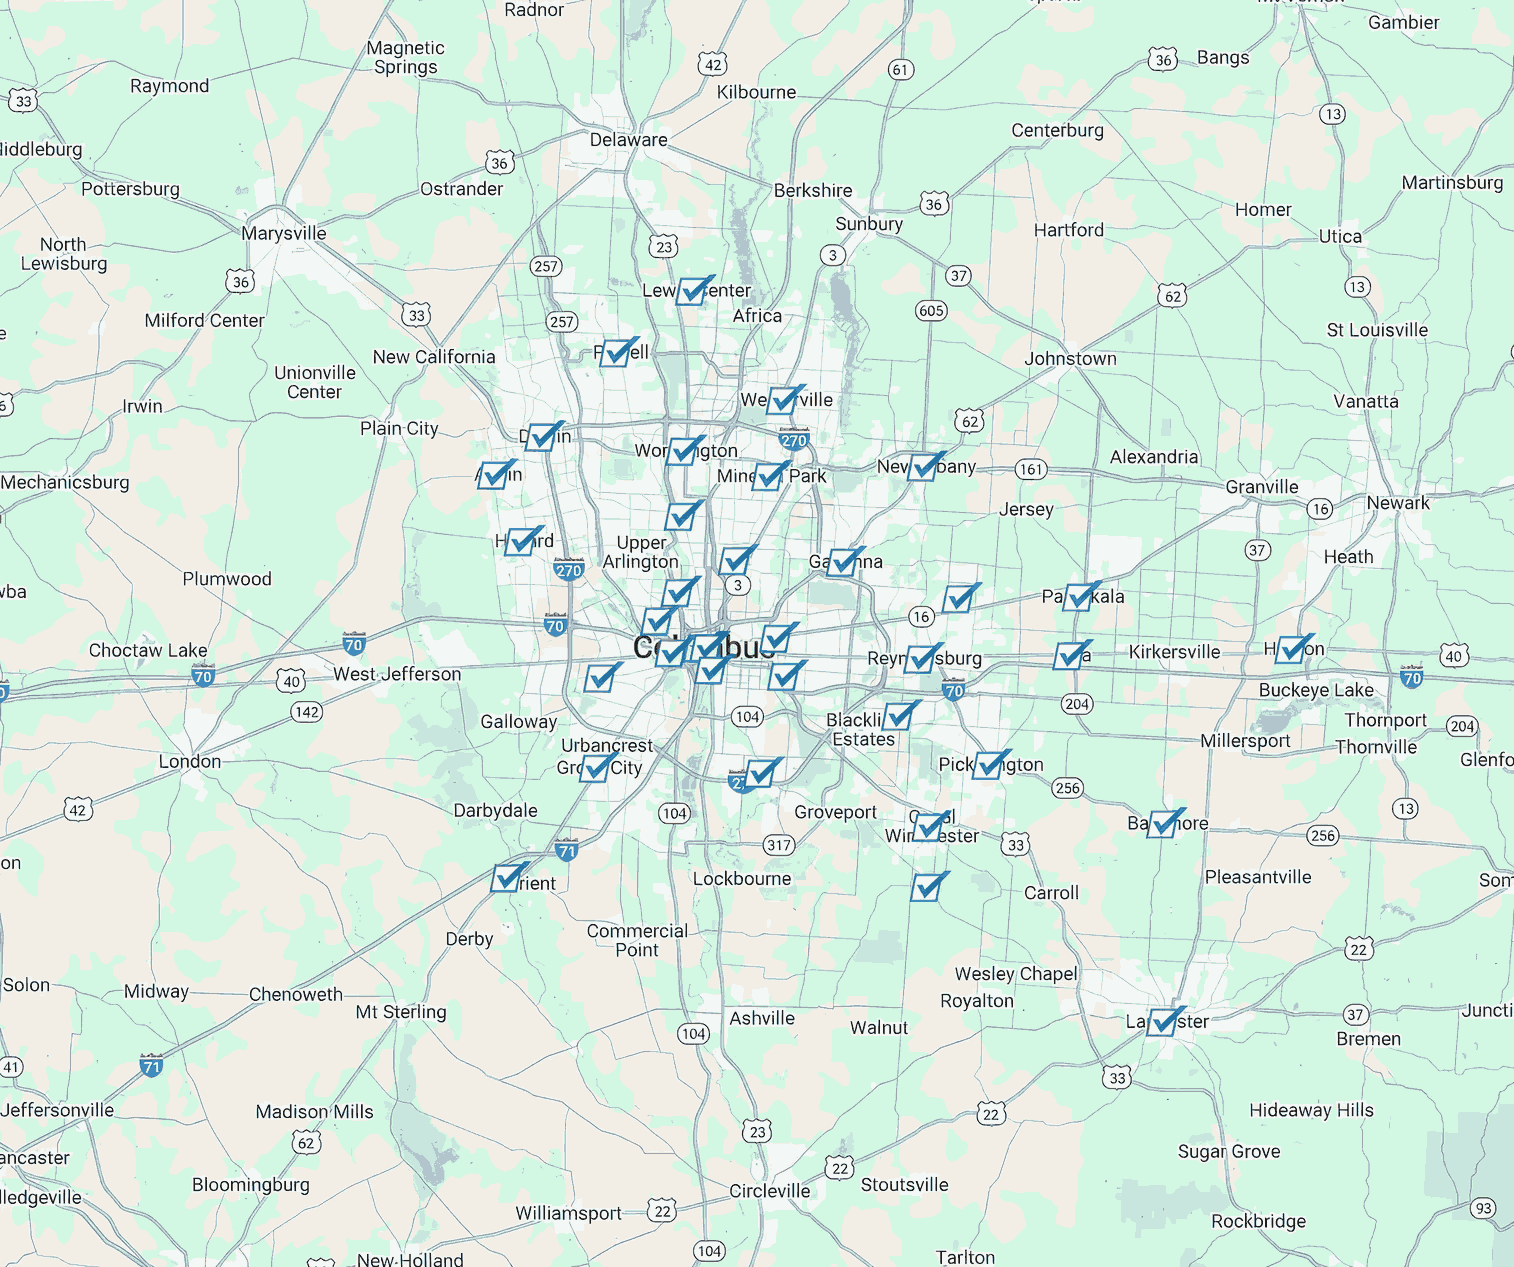
Service Areas