Mini Split Repair in Westerville, OH
Mini Split repair in Westerville, OH: expert diagnostic and repair services using OEM parts. Learn more about fast, reliable service today.

Mini Split Repair in Westerville, OH
Mini-split (ductless) systems are a common, efficient choice for Westerville homes — especially where room-by-room comfort, retrofit installs, or supplemental heating and cooling are needed. When a mini-split fails, the loss of targeted comfort and higher energy use is immediately obvious.
Why prompt mini-split repair matters in Westerville
Westerville’s hot, humid summers and cold winters put seasonal stress on ductless systems. High humidity increases condensate and coil-fouling risks, while repeated winter start/stop cycles and occasional subfreezing nights can magnify wear on compressors and controls. Delaying repair can lead to larger failures, reduced efficiency, indoor comfort issues, and potential damage to electrical components or refrigerant systems.
Common mini-split problems in Westerville, OH
- Compressor problems: Hard starts, overheating, loud noises, and failure to run are often signs of compressor distress or inverter drive faults.
- Refrigerant leaks or incorrect charge: Low cooling capacity, frosting on the indoor coil, or hissing sounds typically point to leaks or under/overcharge.
- Fan or motor faults: Indoor blower or outdoor fan motors that hum, wobble, or fail to spin reduce airflow and unit performance.
- Electrical and control issues: Tripped breakers, blown fuses, faulty PCBs/inverter boards, or communication errors between indoor and outdoor units cause intermittent operation or total shutdown.
- Thermostat or sensor failures: Faulty temperature sensors or remote control/receiver problems lead to incorrect cycling and comfort complaints.
- Condensate drainage problems: Clogged drains or blocked condensate pumps create leaks, water stains, and microbial growth.
- Freeze-up or icing: Restricted airflow, low refrigerant, or outdoor coil issues can freeze the indoor coil or outdoor unit in humid Ohio conditions.
- Line set and connection damage: Corrosion or physical damage to refrigerant lines and insulation reduces efficiency and causes leaks.
Step-by-step diagnostic and repair process
- Initial inspection and safety checks
- Visual inspection of indoor and outdoor units, wiring, and wall-mounted controllers; verify power and clearances.
- Check breakers, disconnects, and any safety interlocks.
2. Airflow and refrigerant evaluation
- Measure airflow, inspect filters and indoor coil condition, and check the condensate drain.
- Use gauges and temperature readings to assess refrigerant pressures and superheat/subcooling.
3. Electrical testing and control troubleshooting
- Test capacitors, contactors (if present), inverter boards, and compressor start components.
- Verify communication signals between indoor and outdoor PCBs and the remote control signal path.
4. Leak detection and repair planning
- Perform electronic or dye-based leak detection when low refrigerant is indicated.
- Outline repair options: line repair, brazing, or replacing sections of the line set and recharging to OEM specification.
5. Parts verification and OEM compatibility check
- Identify exact model numbers and serials; match replacement compressors, inverter boards, fans, and electronic controls to OEM specifications to ensure proper performance and maintain warranty where possible.
6. Repair and validation
- Replace or repair components, evacuate and charge the system correctly, test for proper operation, and run final performance checks (temperatures, pressure, noise, and vibration).
Common repairs and parts replacement
- Compressor replacement or inverter module repair (requires system evacuation and precise charging)
- Refrigerant leak repair and recharge with proper refrigerant type and documentation
- Fan motor and blade replacement for both indoor and outdoor fans
- PCB/inverter board replacement or software resets
- Sensor and thermostat replacement for accurate temperature control
- Condensate drain clearing and pump replacement to stop water damage and mold growth
- Line set repair or replacement with proper brazing, insulation, and vacuuming
Pay close attention to OEM part numbers and firmware compatibility for inverter-driven systems. Using non-compatible components can cause recurring faults, reduced efficiency, or void manufacturer coverage.
Emergency and rapid-response options
In urgent situations (loss of heat during cold snaps or complete cooling failure in high heat), technicians will typically:
- Prioritize diagnostic triage to identify safety risks (electrical hazards, refrigerant leaks).
- Implement interim measures such as restoring breakers, clearing drains, isolating faulty circuits, or temporarily bypassing non-critical controls to stabilize operation.
- Secure parts fast where possible or recommend temporary remediation until an OEM part arrives. These temporary fixes stabilize comfort but should be followed by permanent repair to avoid long-term damage.
Typical repair timelines
- Diagnostic visit: same day to 24–48 hours depending on scheduling and access.
- Minor repairs (filters, sensors, fan motors): usually a few hours on-site.
- Moderate repairs (PCB, fan assembly, condensate pump): same day to next-day completion if parts are available.
- Major repairs (compressor or line-set replacement): commonly 1–2 days, depending on part availability and the need for brazing, evacuating, and recharging.
Parts availability for less common or older units can extend timelines.
Warranty and guarantees — what to expect
- Manufacturer warranties commonly cover compressors and sealed system components for multiple years and electrical parts for shorter terms; exact coverage varies by brand and model.
- Many repairs include a workmanship guarantee from the service provider; typical durations range from short-term (30 days) to one year for labor, depending on provider policy.
- Maintain records: keep the unit model/serial numbers, installation paperwork, and repair receipts to support warranty claims. Confirm OEM-approved parts are used to avoid voiding coverage.
Preventive maintenance tips for Westerville homes
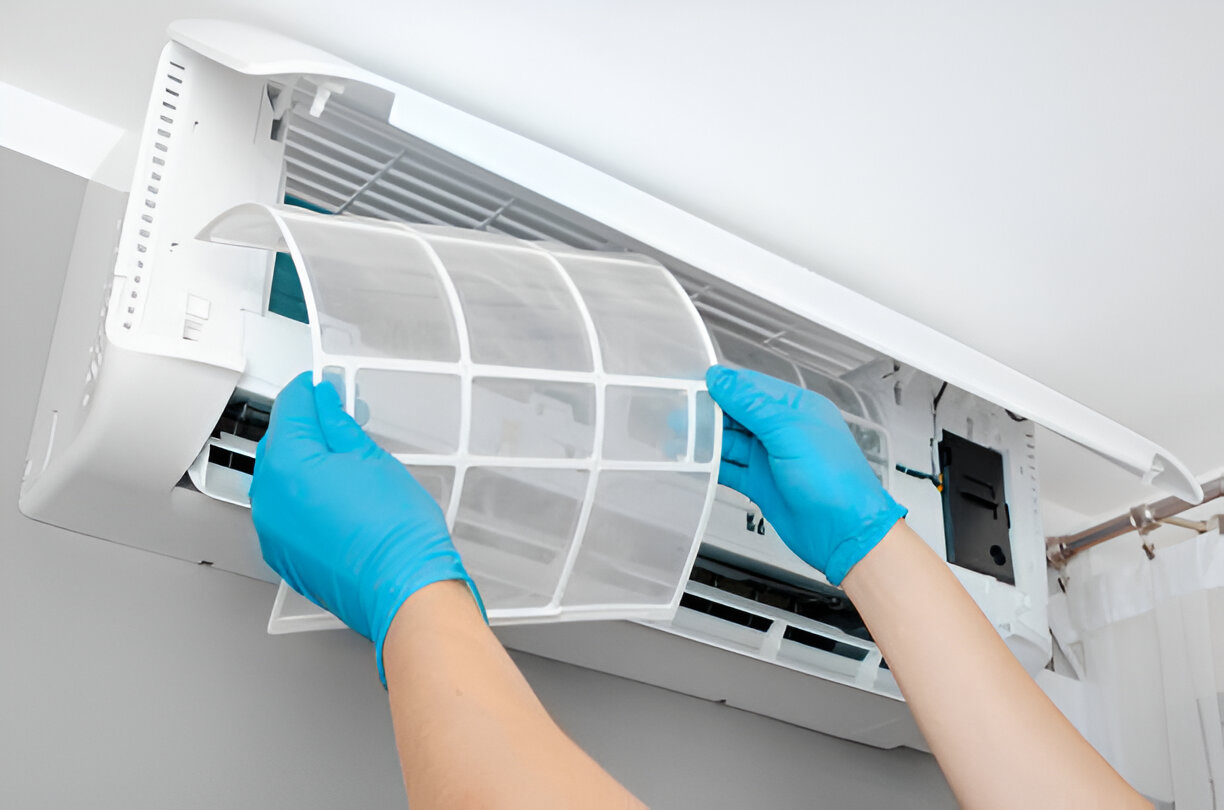
- Clean or replace air filters monthly during heavy-use seasons to maintain airflow and reduce coil fouling.
- Schedule professional tune-ups at least once a year — ideally before summer cooling and before winter heating — to catch small issues before they become major repairs.
- Keep outdoor units clear of debris, leaves, vegetation, and ice buildup; maintain at least 2–3 feet of clearance for airflow.
- Inspect line-set insulation and service valves annually; damaged insulation reduces efficiency and invites condensation problems.
- Verify condensate drains are free-flowing; add a trap or condensate pump service if needed.
- Consider surge protection and a routine electrical inspection to protect sensitive inverter electronics during seasonal storms.
Timely diagnostics and OEM-appropriate repairs keep mini-split systems operating efficiently through Westerville’s seasonal extremes. Regular maintenance and prompt attention to early warning signs (strange noises, loss of capacity, water leaks, or error codes) are the most reliable ways to extend service life and preserve comfort in your home.
Hot Deals & Cool Savings

.webp)
New Service Agreement Membership
.webp)
Any New Client Service
Next Service for Referring a New Client
New Service Agreement Membership
Any New Client Service
Next Service for Referring a New Client
.webp)
.webp)
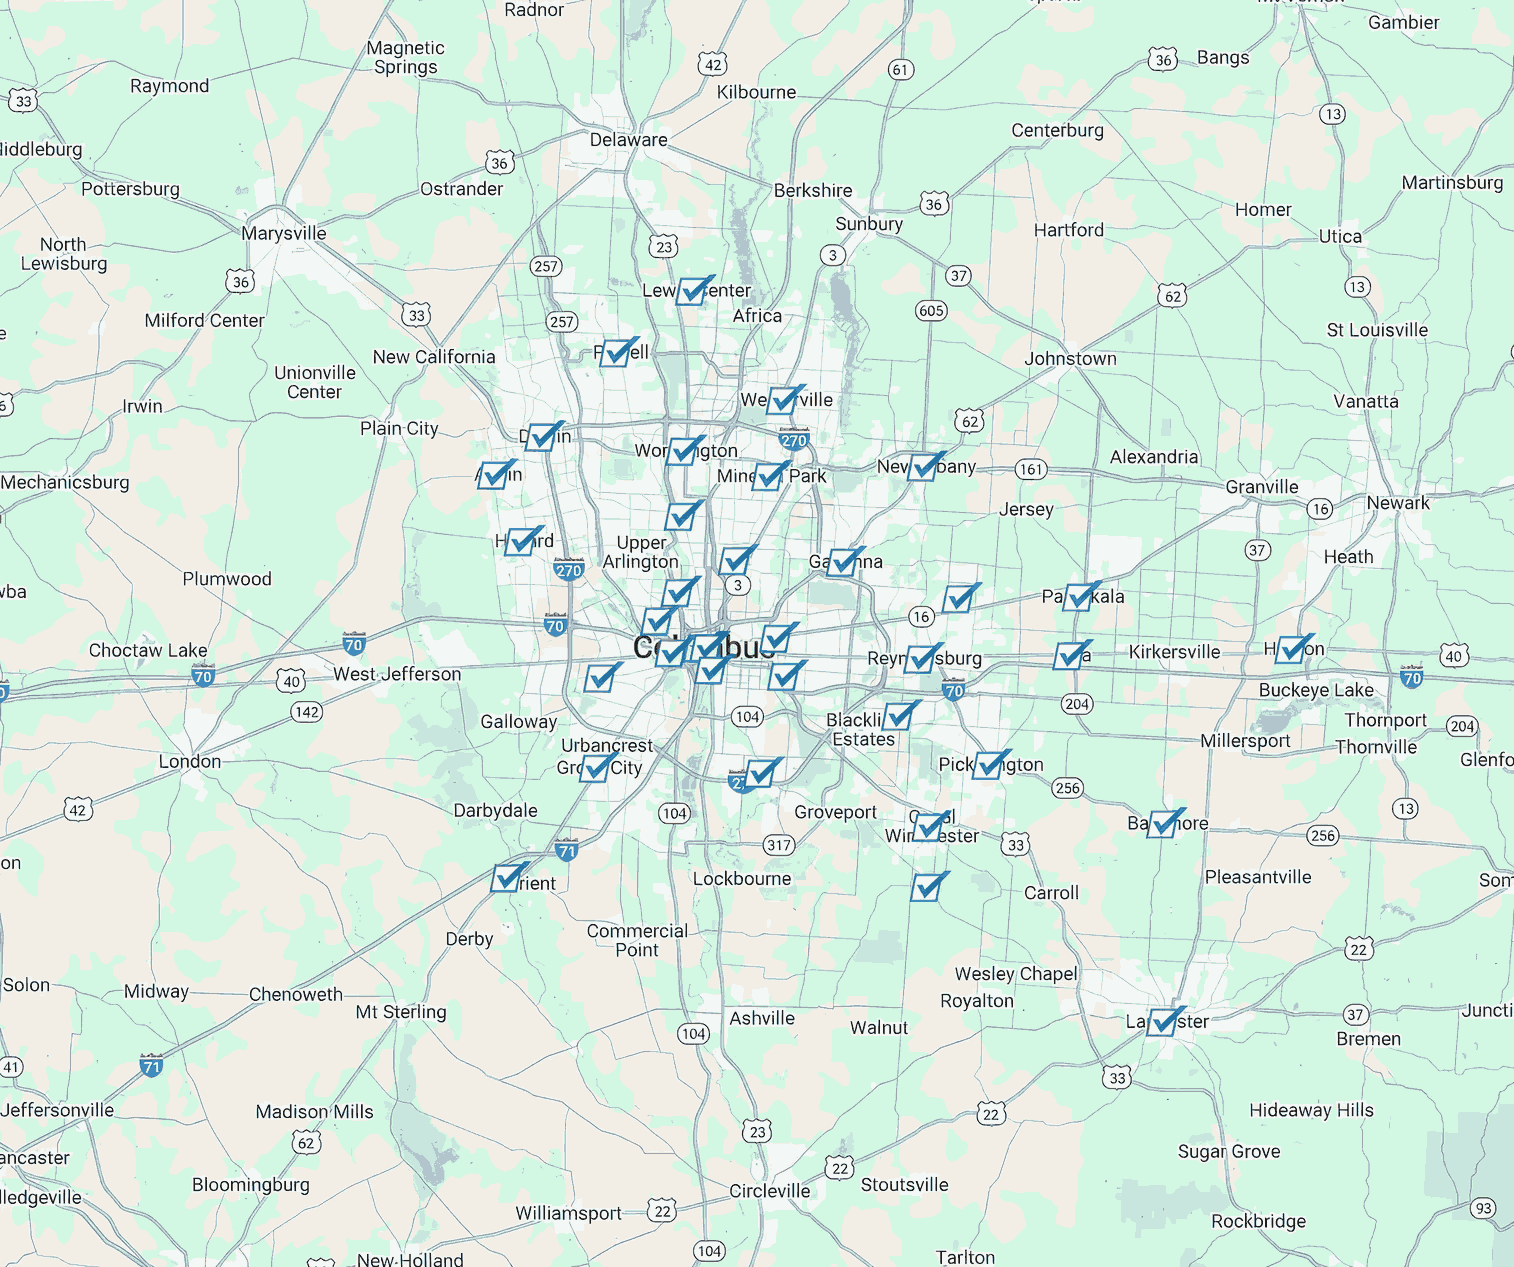
Service Areas