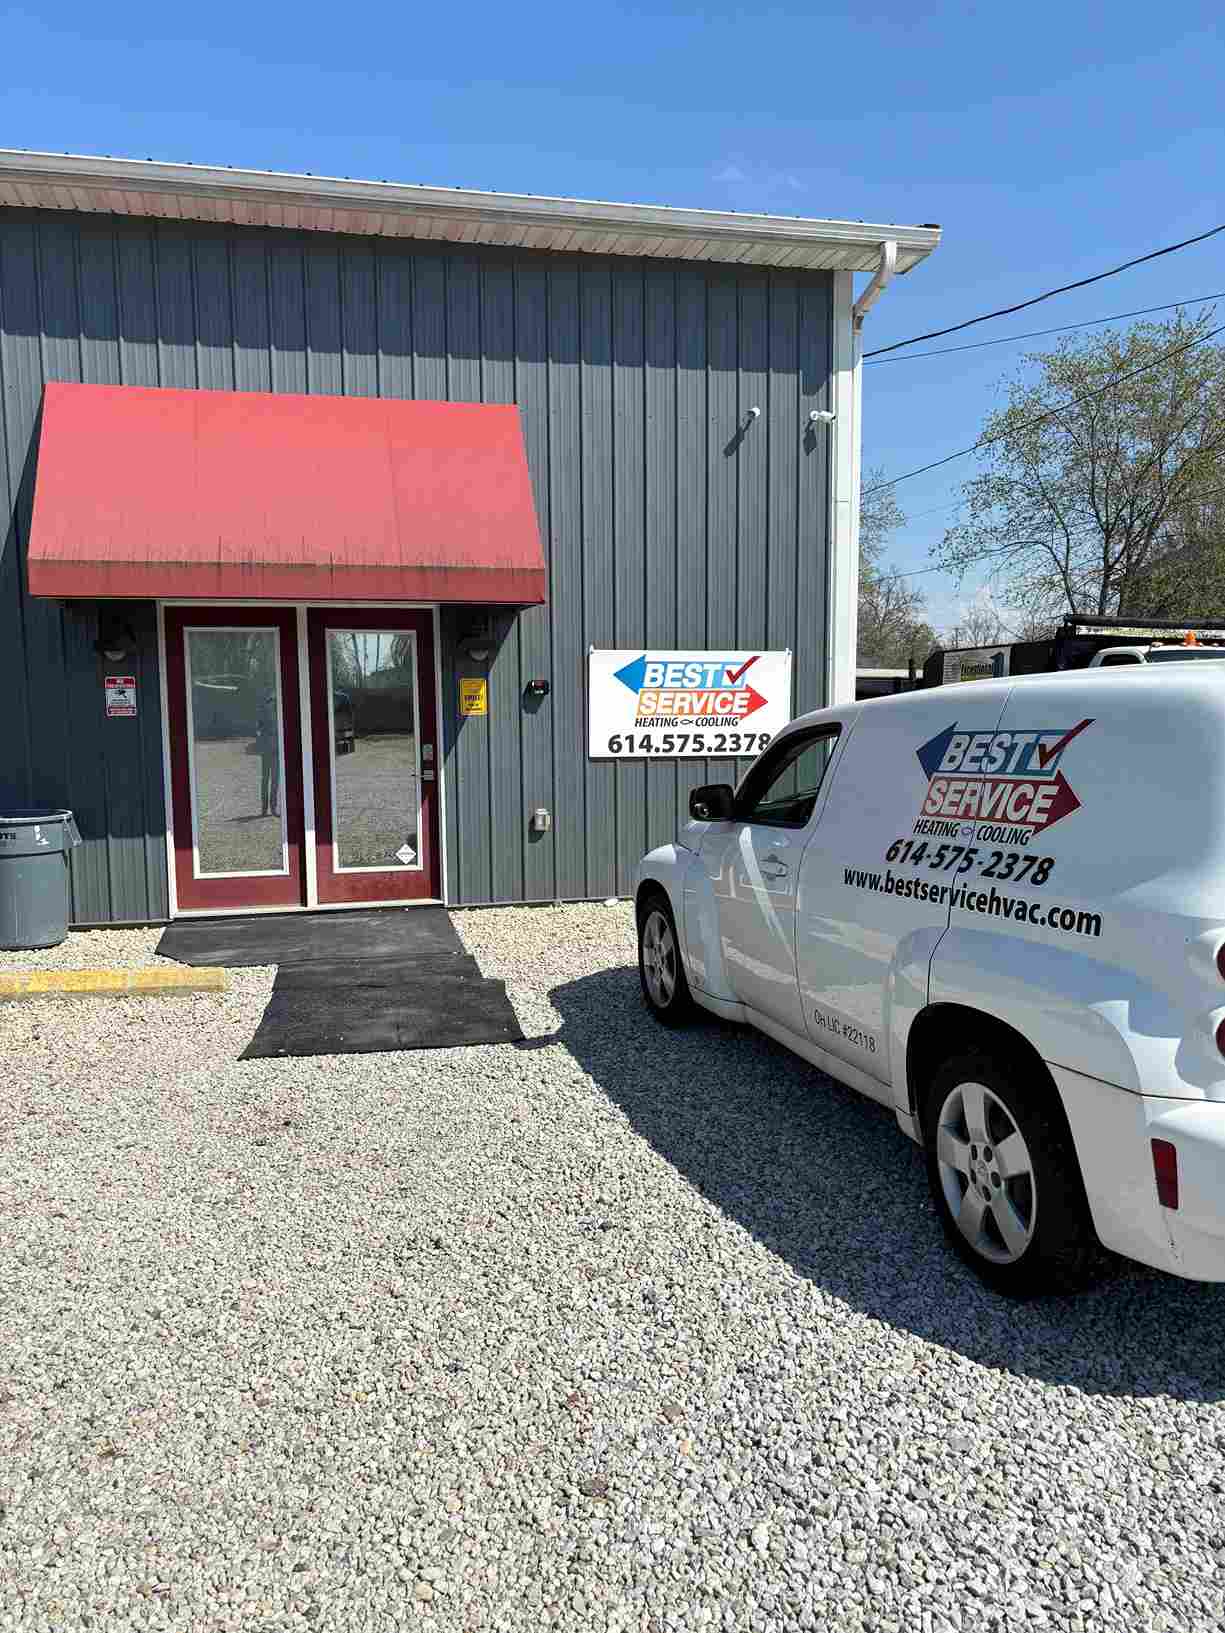
Mini Split Installation in Harrisburg, OH
Mini split installation in Harrisburg, OH delivers precise, ductless heating and cooling for homes where ductwork is impractical. This guide outlines the full installation process, from on-site assessments and load calculations to strategic indoor and outdoor unit placement, electrical work, refrigerant line routing, and commissioning. It covers common Harrisburg-specific challenges, permits, and code compliance, plus homeowner guidance for post-install maintenance and long-term performance. Expect energy efficiency, targeted comfort, and reliable operation tailored to your home's layout and climate.

Mini Split Installation in Harrisburg, OH
A professionally executed mini-split installation in Harrisburg, OH gives homeowners a fast, efficient way to add heating and cooling where ductwork is impractical or absent. Whether you live in an older village home, a newer build with limited attic space, or a finished basement, a ductless mini-split can deliver precise temperature control, lower seasonal energy use, and targeted comfort for individual rooms.
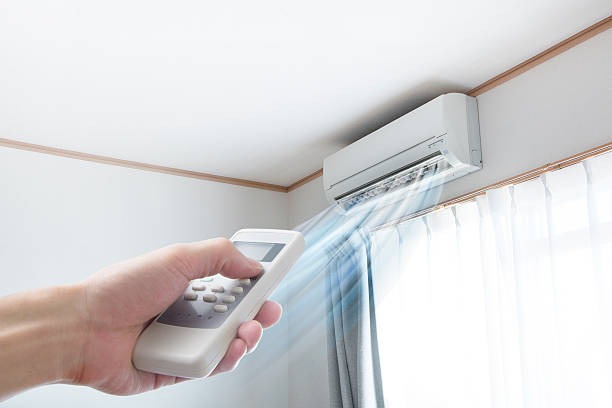
Why choose a ductless mini-split for Harrisburg homes
- Harrisburg experiences humid summers and cold Ohio winters. Ductless mini-splits offer efficient cooling and heat pump heating without the energy losses of leaky or nonexistent ductwork.
- Many local homes have unique floor plans or limited attic/crawlspace access. Mini-splits require only a small penetration through an exterior wall for refrigerant and electrical lines, minimizing disruption.
- Zoned comfort lets you heat or cool only occupied rooms, helping reduce utility costs during shoulder seasons and when occupancy patterns change.
Common mini-split issues in Harrisburg and how proper installation prevents them
- Insufficient heat in winter: Often caused by undersized systems or incorrect refrigerant charge. Proper load calculations and factory-recommended refrigerant charging prevent this.
- Short cycling or frequent defrost cycles: Can result from poor placement, airflow restrictions, or incorrect settings. Correct sizing and strategic indoor unit placement resolve most cases.
- Noise complaints: Indoor or outdoor unit noise usually stems from poor mounting, improper location, or oversized equipment. Careful site selection and vibration isolation reduce sound transfer.
- Condensate or ice buildup: Incorrect condensate routing or inadequate defrost performance causes water or ice issues. Proper drain design and correct refrigerant levels are essential.
- Refrigerant leaks or performance loss: Caused by poor line-set work or brazing. Certified refrigerant handling and leak testing during installation are nonnegotiable.
On-site assessment and load calculations
A reliable installation begins with a comprehensive on-site assessment:
- Visual inspection of walls, framing, electrical capacity, and ideal indoor unit locations.
- Measurement of room dimensions, insulation levels, window orientation, and occupancy to perform a formal load calculation (Manual J or equivalent).
- Determination of the number of indoor heads needed for coverage and the required outdoor unit capacity.Accurate load calculations ensure the mini-split is neither undersized (poor comfort) nor oversized (short cycling and inefficiency).
Indoor and outdoor unit placement considerations
- Indoor unit placement: Choose a location with unobstructed airflow, minimal direct sunlight, and easy access for filter maintenance. Avoid placing units directly above beds or seating where airflow creates drafts.
- Outdoor unit placement: Place on a level, vibration-isolating pad in a sheltered spot with good airflow and minimal snow/drift accumulation. Avoid locations that blow exhaust toward neighboring windows or patios.
- Line-set routing: Short, direct runs reduce efficiency losses. Consider wall cavities, soffits, or small exterior chaseways to conceal refrigerant and condensate lines while maintaining service access.
Electrical and refrigerant line work
- Electrical: Verify the home’s electrical panel capacity and install a dedicated breaker and disconnect per local code. Proper wire sizing and conduit protect the circuit and meet electrical safety requirements.
- Refrigerant lines and brazing: Install copper line sets with proper insulation and slope for condensate drainage. Brazing joints must be leak-free; technicians should perform nitrogen purge during brazing to prevent oxidation.
- Refrigerant handling: Only certified technicians (EPA 608) should handle refrigerants. System evacuation to the recommended vacuum level, proper charge according to manufacturer specs, and leak testing are essential.
Permit and code compliance
- Obtain required local permits for electrical work, refrigerant handling, and mechanical modifications. Permit requirements vary by jurisdiction, but installations must meet the Ohio building and electrical codes and local Harrisburg or Perry County regulations.
- Documentation typically includes equipment specifications, load calculation reports, wiring diagrams, and final inspection sign-offs.
- Ensuring code compliance protects warranty coverage, prevents costly rework, and maintains home resale value.
Step-by-step installation workflow
- Pre-install inspection and load calculation report.
- Strategic placement planning for indoor heads and outdoor compressor.
- Run electrical circuit and mount exterior disconnect and breaker.
- Cut wall penetrations, install sleeve, and mount indoor units.
- Route and secure refrigerant lines, electrical wiring, and condensate drain.
- Brazing and leak testing with nitrogen purge.
- Evacuate system to specified vacuum and charge refrigerant to manufacturer specs.
- Install outdoor unit, connect line sets, and secure pad/mounts.
- Start-up, software setup, and initial operation checks.
- Post-install testing, documentation, and homeowner orientation.
Post-installation testing and commissioning
Thorough commissioning confirms the system performs as intended:
- Evacuation and refrigerant charge verification.
- Pressure and leak tests to ensure long-term integrity.
- Electrical checks: voltage, amperage, and breaker function.
- Airflow, temperature delta verification across indoor units, and defrost performance checks for winter operation.
- Documentation of serial numbers, capacities, and settings for homeowner records and warranty registration.
Homeowner guidance and maintenance tips
- Filter and grille care: Clean or replace washable filters monthly during heavy use; disposable filters per manufacturer guidance.
- Keep outdoor units clear of leaves, snow, and debris; maintain 2–3 feet clearance for airflow.
- Use zoning and temperature setpoints wisely: modest setpoint adjustments save energy; avoid rapid swings that cause short cycling.
- Schedule annual preventive maintenance: check electrical connections, refrigerant levels, condensate drain, and indoor blower performance.
- Watch for warning signs: reduced airflow, unusual noises, water leaks, or poor temperature control — these indicate the need for professional service.
- Document service history and keep manufacturer manuals and commissioning paperwork for warranty and resale value.
Benefits you can expect in Harrisburg, OH
- Improved comfort in rooms that were previously hard to heat or cool.
- Energy savings by eliminating duct losses and using targeted zoning.
- Low-impact installation with minimal structural changes.
- Reliable heating performance through heat pump technology during shoulder seasons and milder winter days.
A well-planned and professionally completed mini-split installation in Harrisburg, OH delivers dependable comfort tailored to the local climate and the specific layout of your home. Proper sizing, meticulous line work, adherence to code, and careful commissioning protect performance and longevity — and simple homeowner maintenance keeps the system operating efficiently year after year.
Hot Deals & Cool Savings

.webp)
New Service Agreement Membership
.webp)
Any New Client Service
Next Service for Referring a New Client
New Service Agreement Membership
Any New Client Service
Next Service for Referring a New Client
.webp)
.webp)
Service Areas