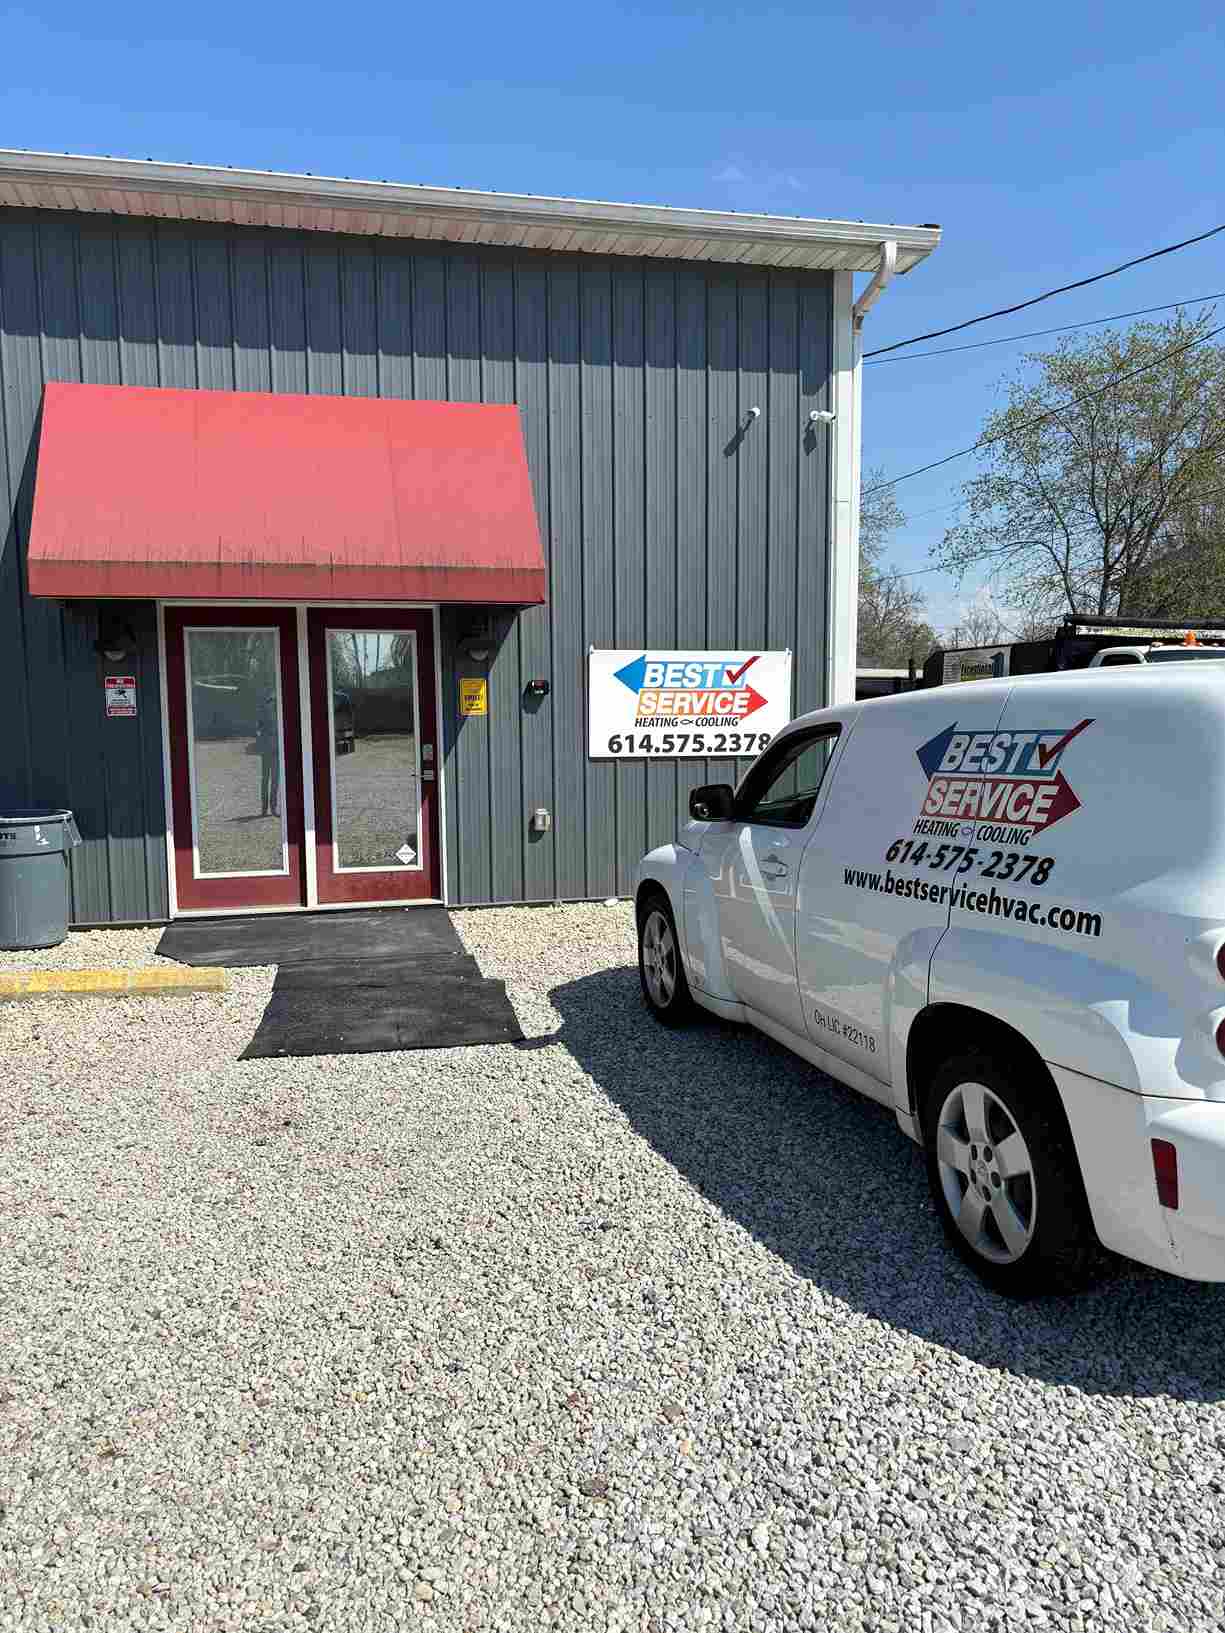
Heat Pump Repair in Baltimore, OH
Heat pump repair in Baltimore, OH offering fast diagnostics, expert repairs, and preventative tips to restore comfort. Schedule service now for reliable heating and cooling.

Heat Pump Repair in Baltimore, OH
When your heat pump struggles to heat in the cold months or cool efficiently in humid Ohio summers, it becomes more than an inconvenience — it affects comfort, energy bills, and safety. Heat pump repair in Baltimore, OH focuses on quickly diagnosing and fixing the root cause so your system runs reliably through Ohio’s cold winters and humid summers. Below you’ll find clear explanations of common problems in the area, the diagnostic steps technicians use, typical repair procedures and timelines, parts and warranty considerations, emergency repair availability, and practical preventative tips to avoid repeat failures.
Why Baltimore, OH homes need prompt heat pump repair
- Ohio’s seasonal extremes place extra demand on heat pumps: long cold stretches increase defrost cycles and compressor workload, while humid summers cause higher cooling loads and more corrosion risk.
- Local pollen, dust, and road salt exposure can accelerate coil fouling and outdoor unit corrosion, reducing efficiency and increasing breakdown risk.
- Addressing issues early prevents secondary damage (like compressor burnout or coil replacement) and reduces operating costs.
Common heat pump problems in Baltimore, OH
- Compressor issues
- Symptoms: weak heating/cooling, high energy draw, unusual noises, unit not starting.
- Common causes: electrical faults, low refrigerant, wear and tear, or seized motor.
- Refrigerant leaks
- Symptoms: loss of capacity, icy evaporator coils, hissing sounds at connections.
- Common causes: corroded coils, vibration wear at fittings, or accidental damage.
- Defrost cycle problems
- Symptoms: frost buildup on the outdoor coil, frequent short cycling, reduced heating performance in cold weather.
- Common causes: faulty defrost thermostat, failed defrost control board, or defective sensors.
- Electrical faults
- Symptoms: unit won’t start, tripped breakers, intermittent operation, buzzing relays.
- Common causes: failed capacitors, contactors, control board faults, loose wiring, or tripped safety devices.
- Airflow restrictions
- Symptoms: uneven comfort, freezing coils, high indoor humidity, poor airflow from registers.
- Common causes: dirty filters, clogged indoor coils, blocked vents, failing blower motors.
Typical diagnostic process
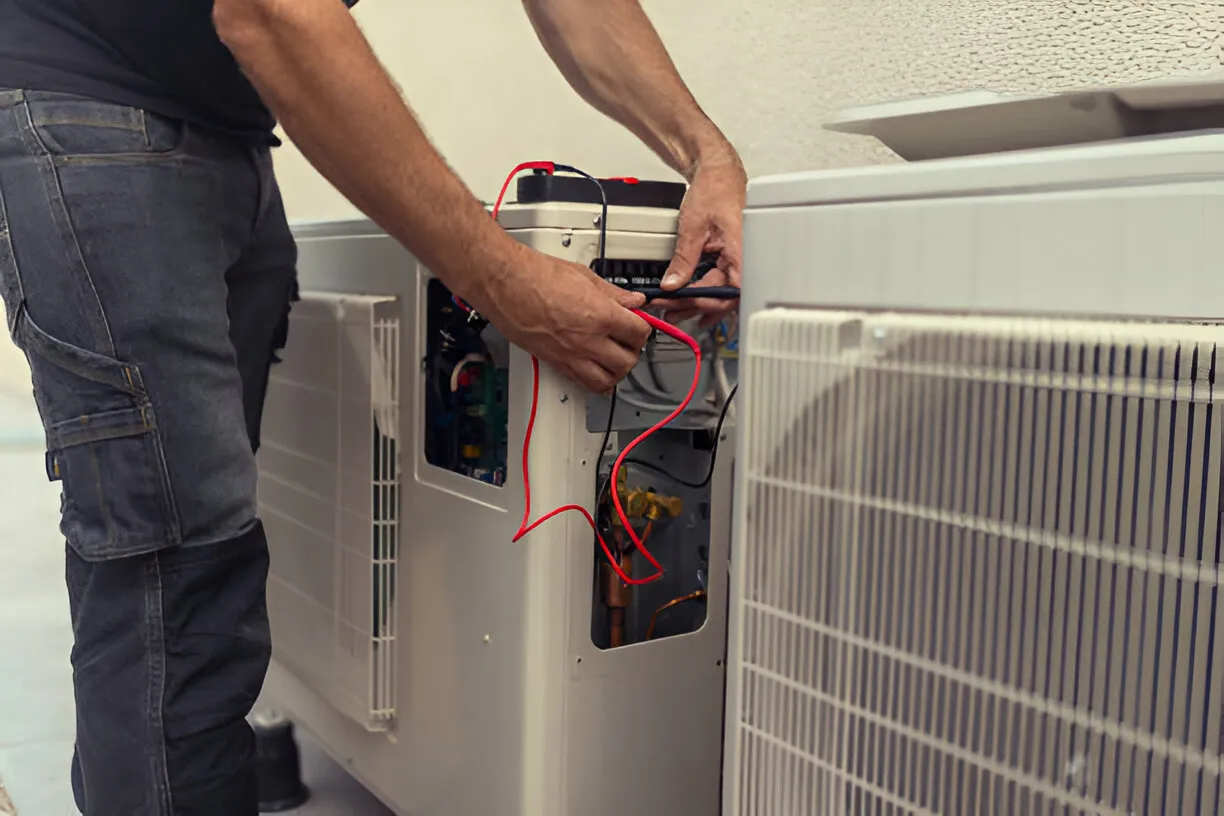
- Initial inspection (visual + operational): technician checks electrical panels, filters, indoor and outdoor coils, refrigerant lines, and mounting. This identifies obvious issues like heavy corrosion, visible leaks, or blocked airflow.
- System performance testing: measure temperature split across the coil, check suction and discharge pressures with gauges, and measure compressor amp draw to assess mechanical load.
- Electrical diagnostics: test capacitors, contactors, relays, fuses, and control board outputs for proper voltages and continuity.
- Leak detection: use electronic leak detectors, UV dye, or pressurize lines with dry nitrogen to locate refrigerant leaks if pressures indicate low refrigerant.
- Defrost and controls check: run the system through defrost cycles and monitor sensors and control board responses.
- Report and options: technician explains findings, repair options, parts required, and expected timelines.
Common repair procedures explained
- Compressor repair or replacement
- Small electrical fixes (start kit, capacitor or contactor replacement) are often the first step.
- A failing compressor may sometimes be repaired; in many cases replacement of the compressor or outdoor unit is recommended depending on age and efficiency tradeoffs.
- Properly matching replacement compressors and performing a full evacuation and charge is essential for longevity.
- Refrigerant leak repair
- Locate and repair the leak (repairable brazed joints, replace corroded coil sections).
- Recover remaining refrigerant, vacuum the system, pressure test, then recharge to manufacturer specifications.
- Note: older refrigerant types or major coil damage may require more extensive component replacement.
- Defrost system repairs
- Replace failed defrost thermostats, sensors, or heaters; repair or replace defrost control boards as needed.
- Adjust control settings and retest over several cycles to confirm proper operation.
- Electrical repairs
- Replace capacitors, contactors, relays, fuses, or sections of damaged wiring.
- Tighten connections, clear corrosion, and verify control board functionality.
- Airflow and indoor component repairs
- Clean or replace air filters, clean indoor coil and condensate drain, repair or replace blower motor or fan assemblies.
- Balance ductwork or clear blockages to restore proper return and supply airflow.
Expected timelines and emergency availability
- Diagnostics: in most cases a full diagnostic visit takes 45–90 minutes, depending on system complexity and whether indoor and outdoor units must be inspected.
- Minor repairs: component replacements like capacitors, contactors, or filters often can be completed same-day during the diagnostic visit if parts are available.
- Moderate repairs: refrigerant repairs, defrost control or blower motor replacements commonly take 1–2 days when parts must be ordered.
- Major repairs or replacements: compressor or coil replacements, or replacement of the outdoor unit, may take several days to a week depending on parts lead time and system matching.
- Emergency repair availability: many repair services prioritize systems that are not providing heat in freezing conditions. Emergency response windows vary, with critical heating failures often addressed within 24 hours where possible.
Parts and warranty information
- Parts commonly used: compressors, contactors, capacitors, reversing valves, defrost heaters, sensors, control boards, blower motors, and coils.
- Warranty considerations: manufacturer warranties vary by part and age of equipment. OEM parts typically carry manufacturer-backed warranties; aftermarket parts have their own coverage. When repairs are performed, documentation of parts installed and warranty terms should be provided and retained for future claims.
- When replacement is recommended: if a unit is older, repeatedly failing, or requires a major compressor/coil swap, replacement may be more cost-effective long term—particularly when warranty coverage has expired.
Preventative tips to avoid future breakdowns
- Schedule a professional HVAC inspection and tune-up before winter and before peak cooling season to verify refrigerant levels, test defrost function, and clean coils.
- Change or clean air filters every 1–3 months during heavy use to prevent airflow restrictions that can freeze coils or overwork the blower.
- Keep the outdoor unit clear of debris, vegetation, and ice buildup; protect against road salt and winter piling that can corrode fins and fittings.
- Monitor unusual sounds, short cycling, or rising utility bills—addressing these early often keeps repairs small.
- Consider surge protection for control boards and motors to reduce failures from power fluctuations common during storms.
Hot Deals & Cool Savings

.webp)
New Service Agreement Membership
.webp)
Any New Client Service
Next Service for Referring a New Client
New Service Agreement Membership
Any New Client Service
Next Service for Referring a New Client
.webp)
.webp)
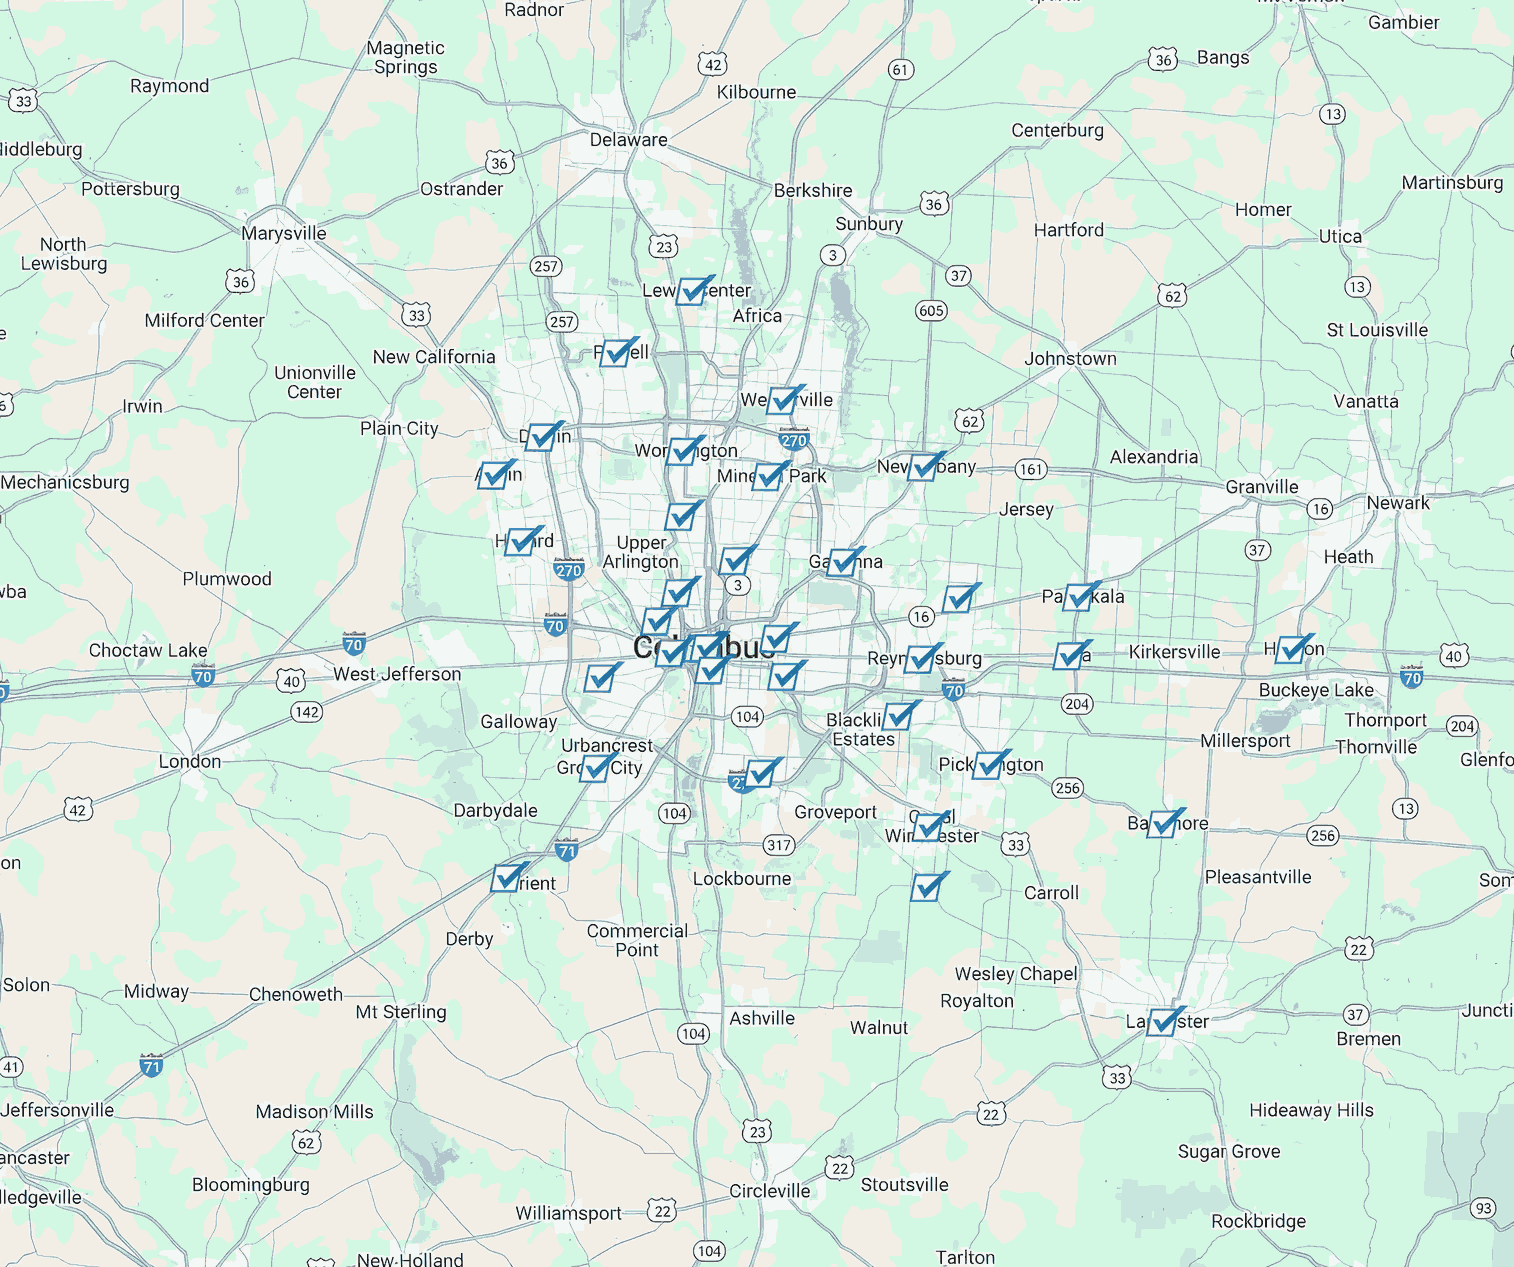
Service Areas