
Heat Pump Installation in Canal Winchester, OH
Heat pump installation in Canal Winchester, OH delivers year-round comfort with expert sizing and precise setup. Schedule a pro assessment.
Heat Pump Installation in Canal Winchester, OH
Heat pump installation in Canal Winchester, OH is a smart upgrade for homeowners seeking reliable heating in cold winters and efficient cooling in humid summers. A properly sized and professionally installed heat pump delivers consistent comfort, lower energy use, and year round performance — but the benefits depend on a thorough site assessment, correct equipment selection, and careful installation.
Why a heat pump makes sense in Canal Winchester
Canal Winchester experiences cold winters and warm, humid summers. Modern heat pumps are designed to perform efficiently across these conditions, offering both heating and cooling in one system. For homes with existing ductwork, air source or cold climate heat pumps can be an efficient retrofit. For homes without ducts or with finishing constraints, ductless mini split systems provide room-by-room control. Ground source systems work well where yard space and budget allow and deliver high efficiency year round.
Common heat pump types and typical use cases
- Air source heat pumps: Best for replacing older central systems or pairing with existing ducts. Good year round efficiency.
- Cold-climate heat pumps: Designed to maintain heat output at lower temperatures, valuable for Ohio winters.
- Ductless mini splits: Ideal for additions, converted basements, or homes without ductwork.
- Ground source (geothermal) heat pumps: Higher upfront complexity but excellent long-term efficiency for larger properties.
Common heat pump installation issues in Canal Winchester homes
- Incorrect sizing: Undersized equipment struggles on the coldest days; oversized units short cycle and reduce comfort.
- Poor ductwork: Leaky or undersized ducts limit airflow and efficiency.
- Electrical limitations: Older panels may lack capacity for a new heat pump without upgrades.
- Improper refrigerant charge or airflow: Causes reduced efficiency and premature wear.
- Inadequate freeze protection and drain routing: Can cause icing or water damage in cold months.
Initial consultation and site assessment
A professional installation begins with a detailed consultation and on-site assessment. Typical steps:
- Review of your home: layout, insulation levels, windows, attic and basement conditions, and current HVAC equipment.
- Load calculation: A room-by-room heat loss and heat gain assessment estimates precise capacity needs. This ensures the unit chosen matches the home rather than relying on square footage alone.
- Duct inspection: For ducted systems, the installer evaluates duct size, leakage, insulation, and airflow restrictions.
- Electrical and location planning: Determining whether your electrical panel and breaker capacity are adequate, and where outdoor and indoor units will be located for performance and noise considerations.
- Permitting and code review: Local permitting requirements and inspection scheduling are confirmed as part of the planning.
Equipment selection and sizing
Sizing is critical. Installers use industry-standard calculations to pick a unit that balances capacity and efficiency. Selection includes:
- Capacity matched to the calculated load
- Efficiency ratings appropriate to local climate
- Compatibility with existing or upgraded ductwork and thermostats
- Consideration of features like variable speed compressors and dual fuel capability for homes with backup furnaces
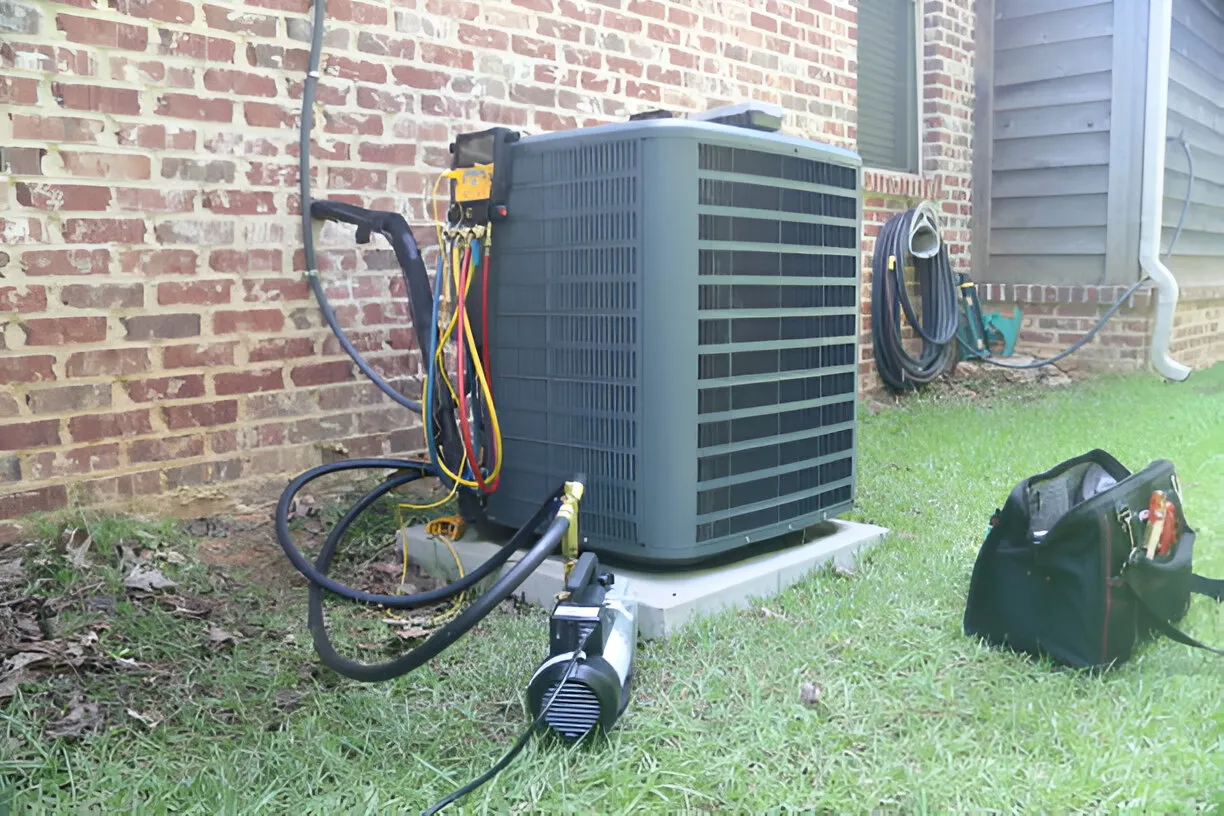
Ductwork and electrical requirements
- Ductwork: Expect recommendations to seal, insulate, or resize ducts where needed. Even a high-efficiency heat pump performs poorly with leaky, poorly insulated ducts.
- Electrical: Heat pumps require dedicated breakers and sometimes service panel upgrades. Proper wiring, disconnects, and surge protection are part of safe installation.
- Condensate and drainage: Proper slope, drainage lines, and backups prevent moisture issues in basements and crawl spaces.
Step-by-step installation process
- Final planning and permits: Confirm equipment, schedules, and pull any required permits.
- Equipment delivery and staging: Outdoor unit, indoor air handler or heads, and line sets are brought to the site.
- Mounting the outdoor unit: Positioned for airflow, access, and minimal noise impact.
- Installing the indoor unit and connecting ductwork or mounting heads: For ducted systems, new or modified plenum and connections are completed.
- Refrigerant line set, electrical, and control wiring: Proper brazing, insulation, and electrical connections are made to manufacturer specifications.
- System evacuation and refrigerant charging: Technicians evacuate air and moisture, then charge the system to the exact refrigerant specifications.
- Insulation and weatherproofing: Exterior penetrations are sealed to prevent heat loss and pests.
- Start up procedures and calibration: Controls, thermostats, and optional smart features are configured.
Testing and commissioning
Testing ensures the system delivers design performance:
- Electrical safety checks and breaker sizing verification
- Refrigerant charge and pressure testing
- Airflow measurements and static pressure checks on ducted systems
- Temperature split testing to confirm proper heating and cooling output
- Noise and vibration checks for both indoor and outdoor units
- Final inspection with the homeowner to demonstrate operation and basic maintenance items
Warranty and post-installation support
Quality installations include manufacturer warranties on equipment and a workmanship warranty on the installation. Post-installation support commonly covers:
- Documentation of warranties and serial numbers
- Recommended maintenance schedule and service agreements
- Troubleshooting guidance for common user issues like thermostat settings or filter changes
- Scheduling for first-season checkups to verify performance as temperatures change
Expected timelines and project factors
Typical timeline elements:
- Initial consultation and assessment: usually completed within one to two weeks of inquiry depending on scheduling.
- Permitting and procurement: a few days to several weeks, depending on local permit turnaround and equipment availability.
- Installation day(s): most residential installations complete in one to three days, depending on system type and ductwork scope.
- Final testing and inspection: completed immediately following installation or within a few days for municipal inspections.
Timelines vary with permit processing, equipment lead times, and the extent of duct or electrical upgrades required.
Maintenance and longevity considerations
Regular maintenance keeps efficiency high and extends equipment life:
- Replace or clean filters every 1 to 3 months
- Annual professional tune up before the cooling or heating season
- Keep outdoor units free of debris and ensure good airflow
- Monitor for unusual sounds, cycling patterns, or reduced comfort and address issues promptly
Proper maintenance is especially important in Canal Winchester where seasonal temperature swings place different demands on the system.
Final considerations for Canal Winchester homeowners
A successful heat pump installation in Canal Winchester, OH depends on matching the right technology to your home, accounting for the local climate, and ensuring ductwork and electrical systems support performance. Investing in a professional assessment, correct sizing, and quality workmanship prevents common failures and secures reliable comfort year round. Knowing the installation process, timelines, and what to expect from post-installation support makes it easier to choose the right solution for your home.
Hot Deals & Cool Savings

.webp)
New Service Agreement Membership
.webp)
Any New Client Service
Next Service for Referring a New Client
New Service Agreement Membership
Any New Client Service
Next Service for Referring a New Client
.webp)
.webp)
Service Areas